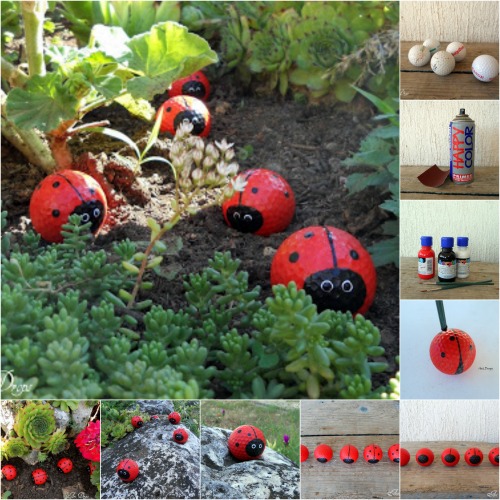
Every garden needs ladybugs! Now that spring is here, I am looking for DIY projects to beautify the lawn. In particular, I want to put in some new lawn and garden ornaments. That led me to find this really adorable project to create lady bugs. Here is the original post (you will need to use the Translate function in your browser) her visual instructions are pretty clear.
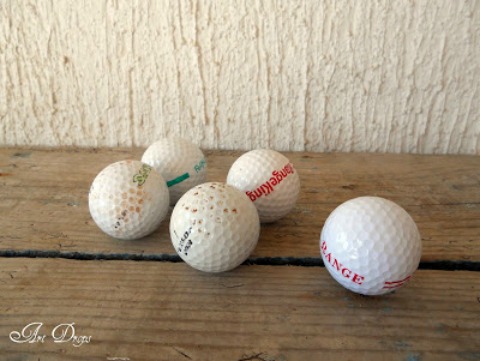
They start out as this …
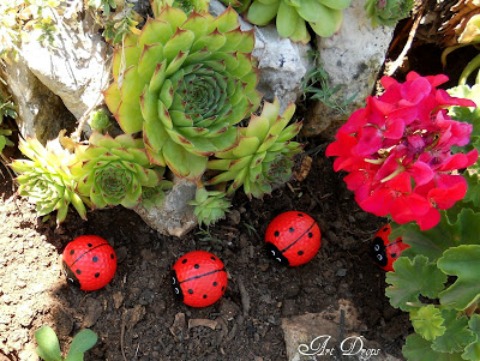
… And turn into this!
Here are the steps:
- Use sandpaper to smooth out the golf balls and get rid of their gloss.
- Spray primer on the golf balls, making sure to get full coverage. This helps the paint to adhere. Otherwise it may not stick to the surface and may run as you are trying to paint (it also may not dry on right).
- Wait for the primer to dry.
- Paint the golf balls using acrylics. You only need red, black, and white paint.
- Wait for them to dry and you are all done!
Sometimes the most amazing ideas are the simplest ones. At first glance, you wouldn't realize that these were golf balls originally, but leaning in for a closer look, you would see it right away. And that only makes them all the cuter! I am so excited to do this project. I am going to do it with my kids. I just know that they will love it. We'll start by making the ladybugs, and then we'll maybe try some other beetles and bugs!


No comments:
Post a Comment