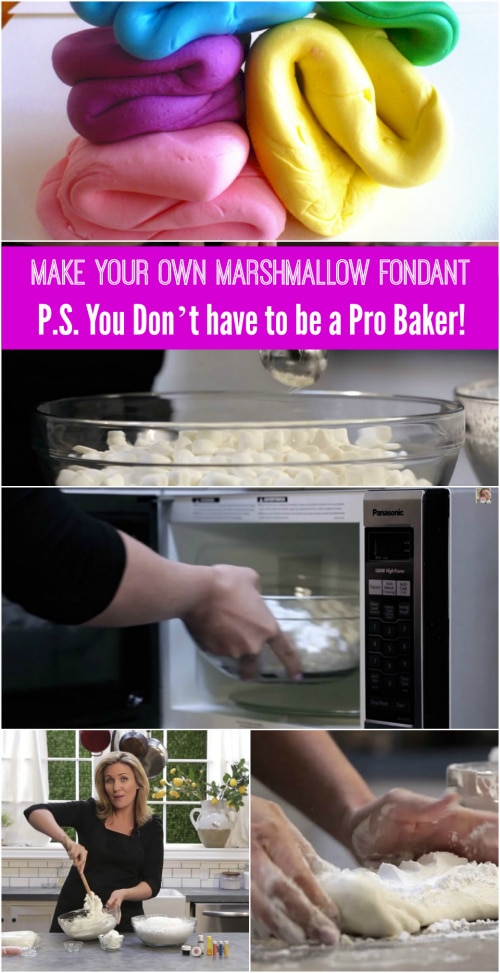
Marshmallows on their own have always been a bit boring for me, I prefer to use them in baking or add something to make them more exciting, like giving them a colorful Jell-O crust, for example. But the coolest thing about marshmallows is that you can use them to make your own fondant. Sure, it's not as easy as buying it pre-made from the store, but I promise this is much more rewarding; everything always tastes better when you know you've made it yourself, right?
Make this Easy Marshmallow Fondant at home – perfect for covering cakes & cupcakes!
You will need:
- 450g mini marshmallows
- 900g (about 8 cups) powdered/icing sugar, sifted
- ½ cup vegetable shortening
- 2-5 tablespoons water
- 2 large bowls (1 microwave-safe)
- Food coloring – powder, gel or paste is a better option than liquid
- Wooden spoon
- Cling wrap
Pour out all your little marshmallows into the microwave-safe bowl and then add two tablespoons of water – you may need to add a bit more later on, but start slow. Put it in the microwave for 30 seconds on high heat, give it a good stir, and then repeat two more times, or until the marshmallows are melted and you have a smooth gooey mixture.
Pour ¾ of your sugar into the marshmallow goo and stir it all together – you may need to put in some elbow grease here to get it to mix as much as possible. It's not going to mix perfectly just yet, just go far enough so that it's at least starting to combine.
Before the kneading, smear a liberal amount of shortening all over your work surface and your hands to stop that ooey gooey mess from sticking to you and your counter. Tip out your mixture and get kneading! (This whole kneading process will take about eight to ten minutes, so it's great for getting rid of those bingo wings.) In order to check that you have the right consistency, do a stretch test: pull a piece of fondant – it should pull for about two inches before breaking; if this doesn't happen with yours, add either more sugar or water, accordingly.
Once your arms are feeling strong (or weak!), and you're happy with your fondant consistency, wipe off any excess sugar, rub some more vegetable shortening on your hands and then rub it all over your fondant ball – this will save it from drying out. Wrap your masterpiece in plastic wrap so that no air gets in, and leave it for a minimum of 12 hours (24 is ideal).
Make Easy Marshmallow Fondant at home, then learn how to store it and colour it for best results and longevity.
Now for the pretty part – the coloring. Give it about two minutes of kneading so that it softens up again. Add your color to the center, fold the fondant up over it, and then get kneading again so that the color disperses evenly. From there you're good to go! All you need to do then is roll it out and carefully blanket your delicious cake!
In terms of storage, this can last up to two months in the fridge, as long as you keep it as airtight as possible, i.e. a double layer of plastic wrap, tucked into a Ziploc bag. Now that you have your fondant stored, you can whip it out when you need to make this delicious and visually stunning heart-in-the-middle rainbow cake – you'll blow everyone away with your impressive baking talents! Recipes by Mycupcakeaddiction and Clockworklemon.

No comments:
Post a Comment