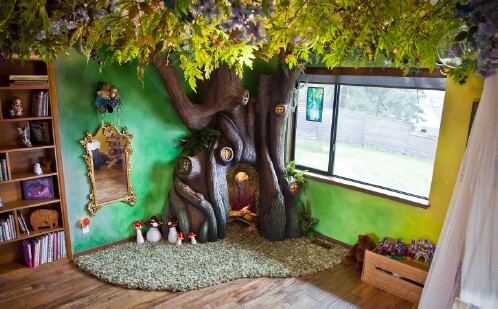
My daughter wanted a fairy tree in her room that she could sit inside and read books, climb the branches, and also have a top sitting area. I was kind of un-prepared for the physical realities of this project. I used Disney set-design as my inspiration. Even though it was difficult, I learned a huge amount along the way. It turned out pretty well, and she’s so happy in her new room!
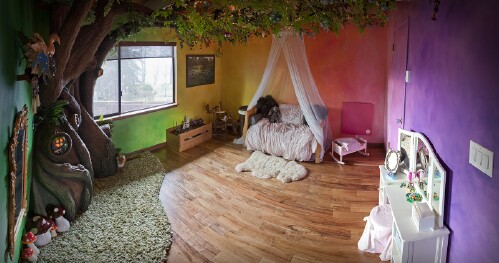
Materials cost for the entire project, including the room renovations was about $4,250. It took about 350 hours of my time -mostly spent on weekends or at night during the past 18 months. I’ve had a few people ask about fire safety. I consulted with both a private fire protection engineer, and a residential fire prevention specialist from my city’s fire department to ensure I didn’t create a fire hazard.
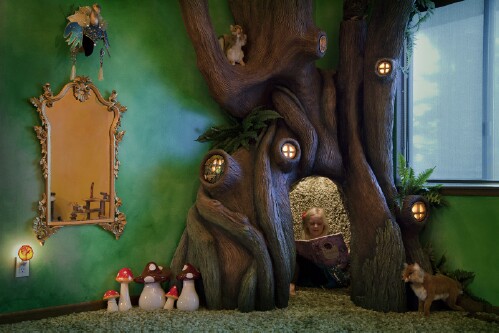
She has her own reading light inside the tree, which is a 12v fixture on its own dimmer switch (located next to her right arm on the carpeted inside wall). My wife suggested the sitting area in the middle. This feature made the whole project more daunting, but in the end, I was glad she thought of it.
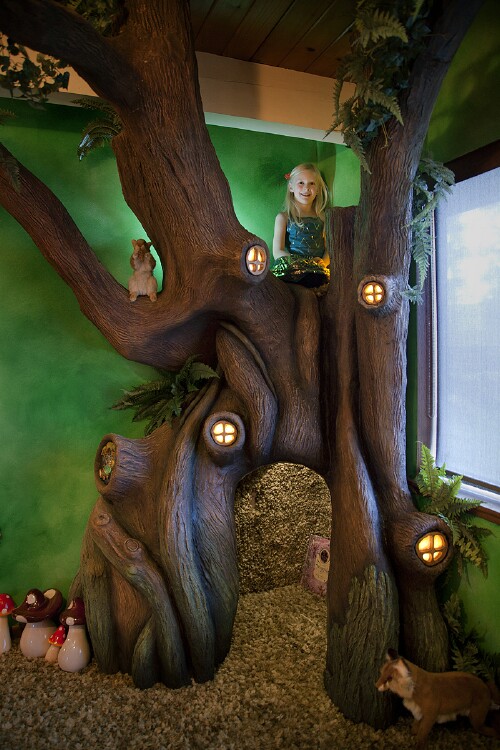
The knot hole fairy windows are on their own 12v circuit, dimmable from a switch near the door. At bedtime these make awesome nightlights.
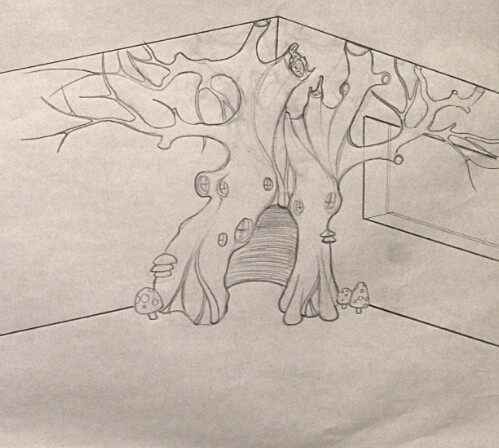
I’m an artist in the video game industry, and don’t usually draw with paper so I’m out of practice. Anyway, this was the last of about a dozen sketches I did before building the model. Most of the earlier drawings looked too scary, and the last thing I wanted was for it to give her nightmares!
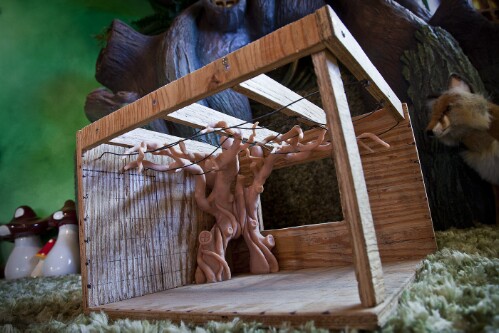
I used Sculpey modeling clay and some plywood cut in the dimensions of her room, including the window and beams in the ceiling. I drew grid lines 1″ apart. I put the whole thing in the oven for 25 minutes at 275 degrees to bake it to hardness.
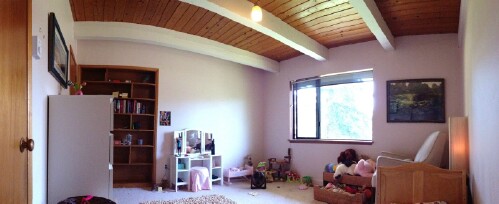
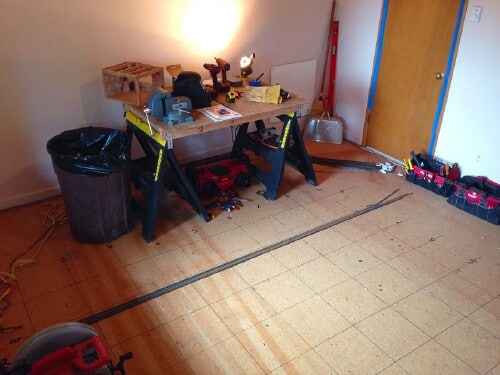
Pretty ho-hum little girl’s room. Definitely ready for a make-over! Notice how she’s not in the picture. She wasn’t very excited about her room at this point.
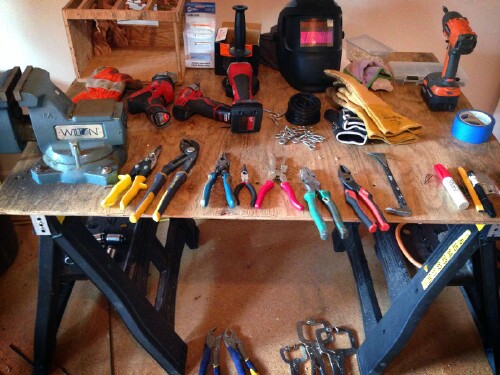
I knew I’d be working for months at this spot, and needed a solid work surface. A sheet of plywood screwed to saw horses did the trick. Then I screwed the sawhorses right into the sub-floor for added stability.
1′ grid lines to match the model. This made it a lot easier to quickly see where things like branches were supposed to be.
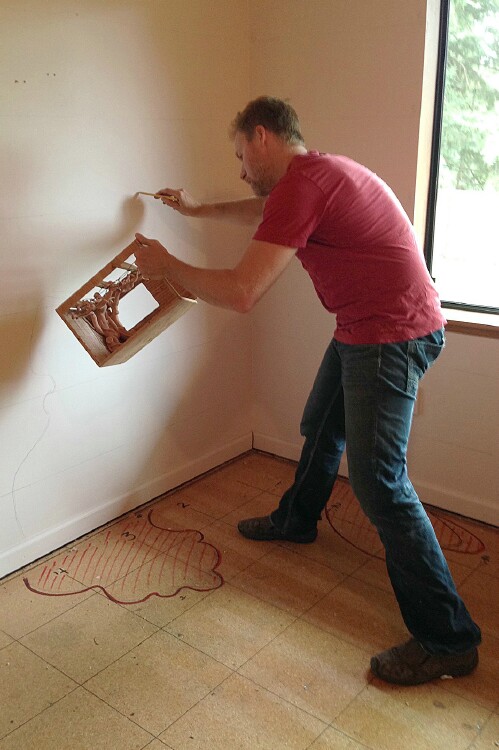
If I drew the silhouettes of the model on the wall, I could attach the steel rebar straight to these lines. The nice thing about organic shapes is you can get away with eyeballing things. Mistakes were made.
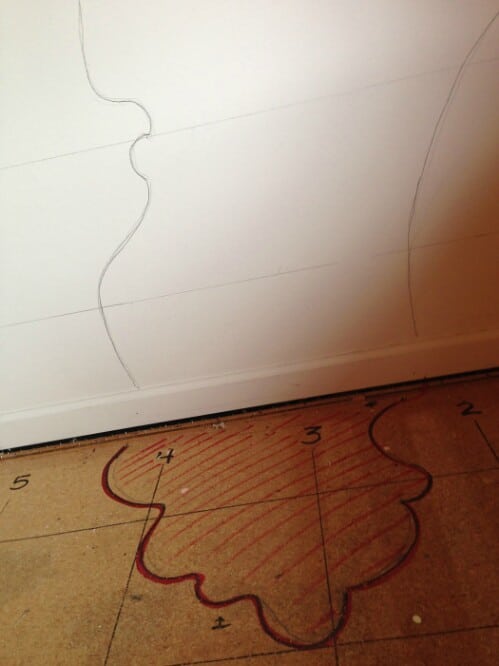
As soon as the shape was drawn on the walls and floors, I was ready to start welding!
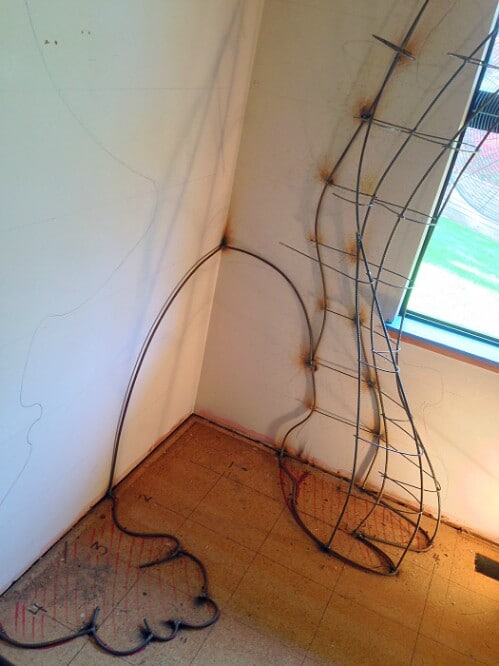
I mostly used 3/8″ rebar and 1/8″ steel rod from scraps, or Home Depot. To make the tree climbable, the frame needed to be pretty strong. So I over-engineered it to easily support 3 adults, even though it would only ever be used by little kids. As I worked, I’d hang on the different parts, testing for strength.
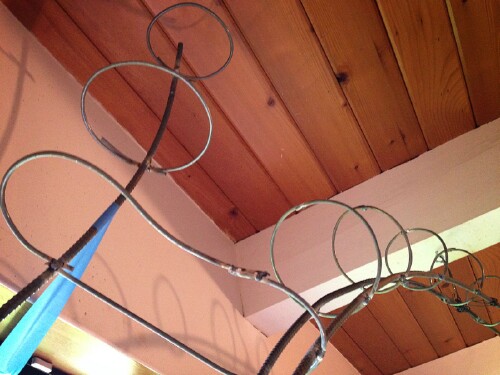
The process was pretty basic: insert one end of the rod in the vice, pull down to add a curve, repeat until I had a full circle.
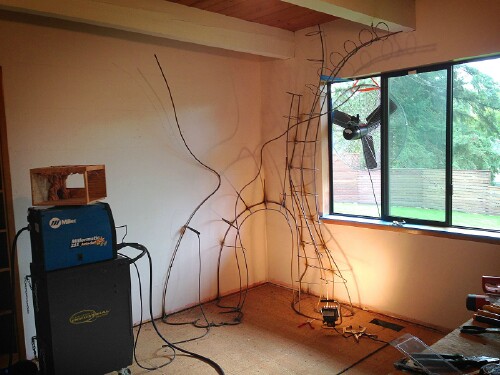
This setup ended up working well. At the recommendation of my instructor, I bought a Miller 211 MIG welder for its relative ease of use. The inert shielding gas comes from the wire itself. I also got a 30″ industrial fan to suck the smoke out the window as I worked. (I also wore a welding respirator).
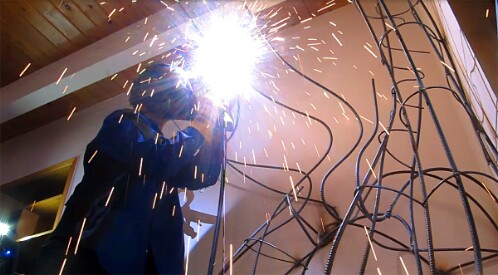
I found my welding teacher on craigslist. She’s a professional sculptor named Carla Grahn, and she was offering 1-day private classes at her studio in Seattle for a few hundred bucks. I learned a ton from her and it was well worth the cost.
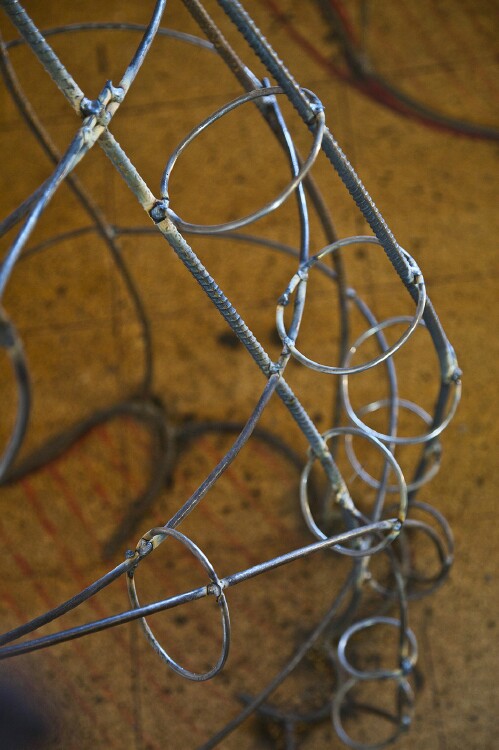
Amateur welds.
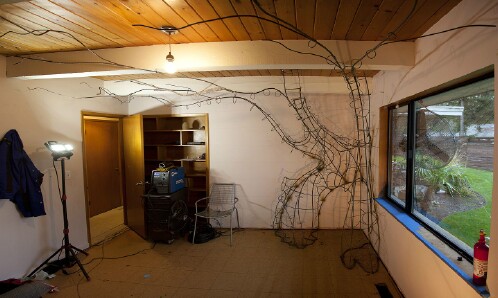
I’m a hopeless perfectionist, and I spent too long making the skeleton look good, as if it would be seen or something. Later, when I was doing the concrete it was painfully obvious I could have made the skeleton more crude, saving lots of time. At this stage I’d spent about 100-120 hours.
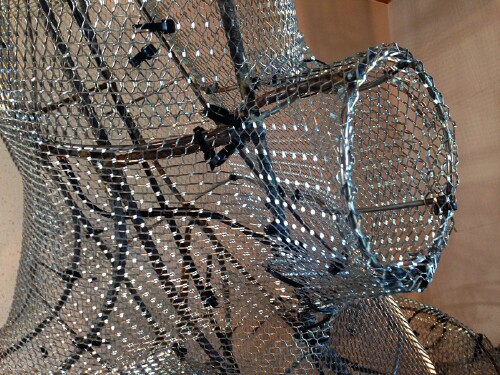
After some frustrating attempts to use 1/4″ wire screen, I found “expanded metal lathe”, which was is much easier to work with! After trying to use wire to fasten the lathe to the skeleton, I opted for zip-ties. These were faster and easier to use than wire.
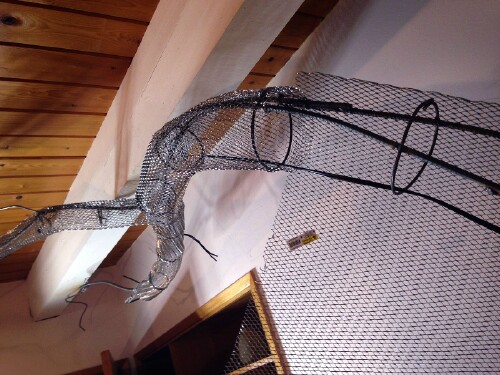
I thought this part would go fast. Nope.
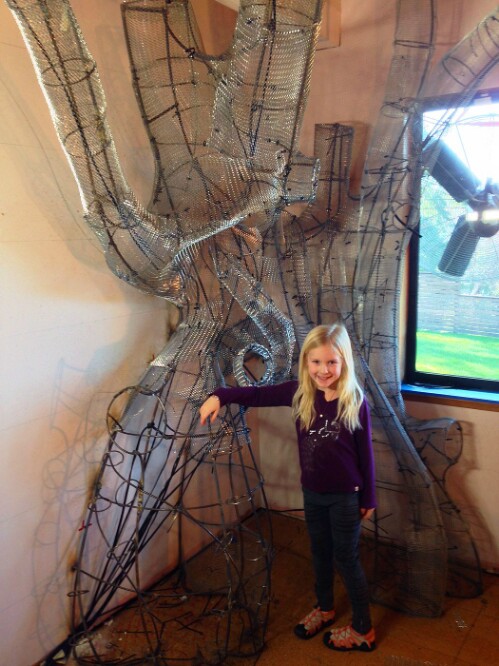
The happy customer. Not shown: my bandaged hands and arms. (At this stage I was about 175 hours in.)
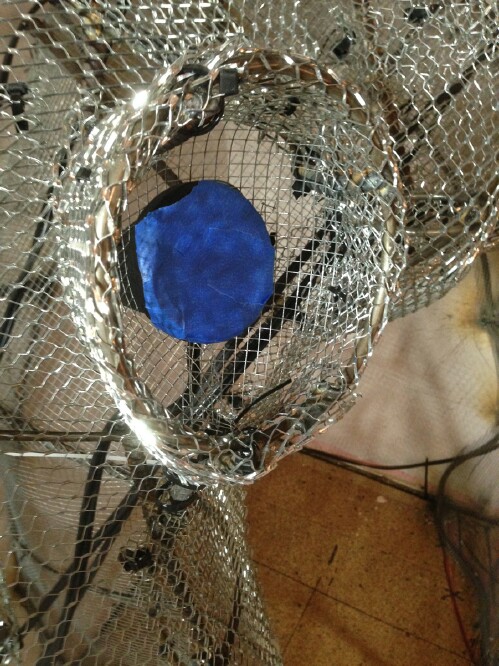
I pre-wired the lights for the fairy windows and door using small fiberglass waterproof 12v landscape lights. I taped over the glass covers with blue painter’s tape to protect them from the concrete phase.
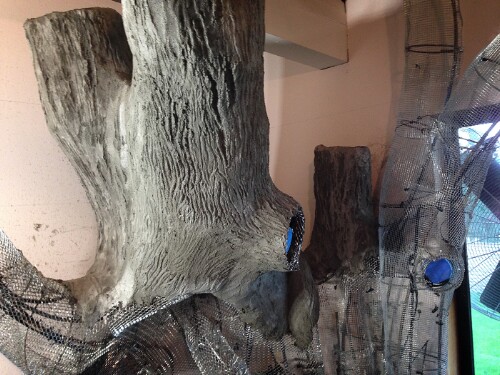
The formula I found worked best was 2 parts portland cement, 1 part water, 1 part polymer fluid. This fluid can be bought from “Something Better Corporation” online. They also have some videos on youtube showing how this is mixed and applied. I added 2oz of 1″ fiberglass shreds to the mix. I used a 5-gallon bucket and a heavy-duty drill mixer. The concrete was applied with a trowel just like stucco application. For the texture, I used silicone bark rollers and clay sculpting tools for the smaller details.
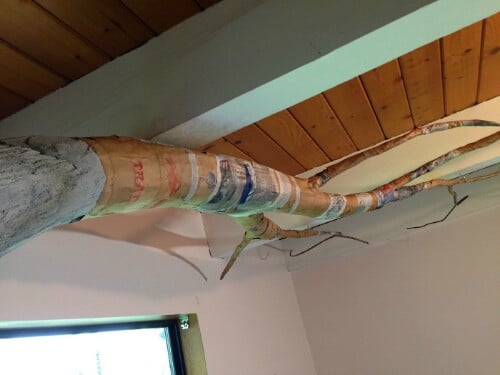
After a few failed attempts to get the concrete to stick to the outer branches, I realized it would have to be paper mache. It’s not only very strong when layered several times, but lightweight and easy to apply.
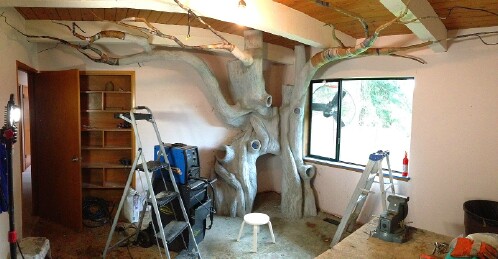
This was a big milestone in the project and something I was really looking forward to. But I have very little experience painting, other than Warhammer 40K miniatures from when I was about 17. So, I decided to paint it exactly the same way! (At this stage I was about 225 hours in)
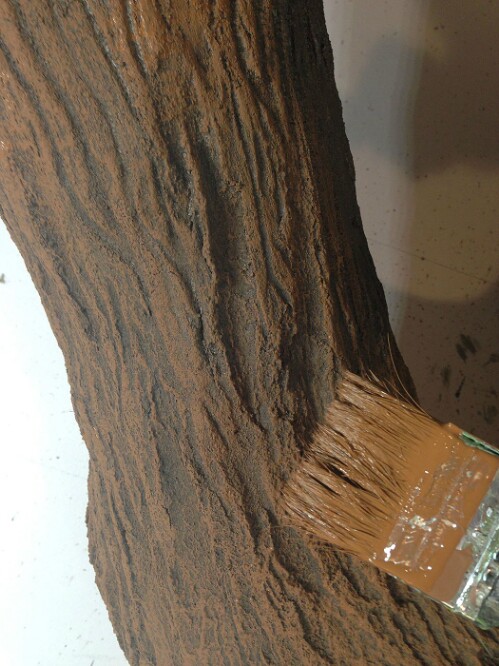
Just like painting my war-gaming miniatures, I started with a very dark coat, then gradually applied lighter colors.
No comments:
Post a Comment