Look around the average home and you will see a lot of straight lines and right angles. Most of us buy our furniture at the store. We fill our houses with finished products which are comfortably contemporary, but don't do a whole lot to fire our imaginations. Then we long for nature and dream of our next vacation when we can go hiking in the woods and finally get back in touch with our primal selves.
But it doesn't have to be that way! We can bring the beauty of nature right into our homes when we use natural materials in creative ways, as demonstrated by this amazing project by HandGround on Imgur! Check out the project discussion on Reddit.
User HandGround has constructed a literal tree of knowledge—a bookshelf made from slices of a felled oak tree. It fits perfectly in a corner, conserving space. He did a minimal finishing job on it and left the rough edges with the beautiful natural trunk texture intact. The shelves appear to float, but each one is supported by a single self-threading screw. Before spacing the shelves, he ran a simple computer design model which told him how far apart to space them so he could fit in different volume sizes. The finished result? Amazing! In for more free DIY shelves? Check out our 40 Brilliant DIY Shelves That Will Beautify Your Home.
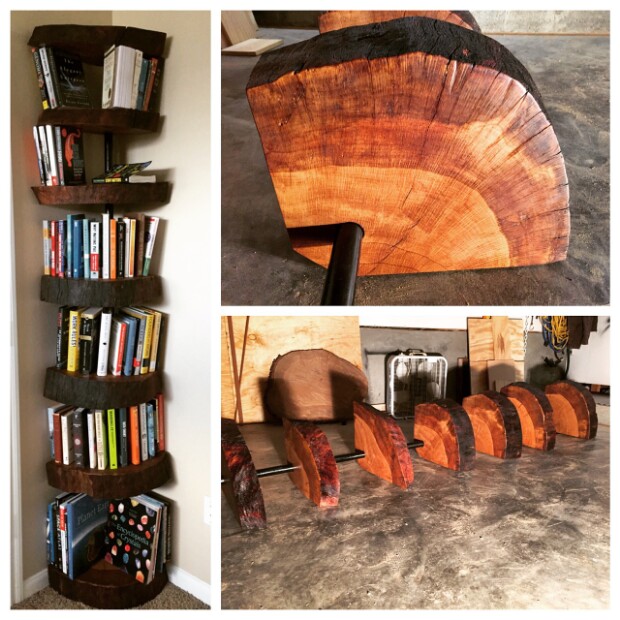
The idea was to create a bookshelf that looks like the trunk of a tree and then fill it with dead trees filled with knowledge (books)
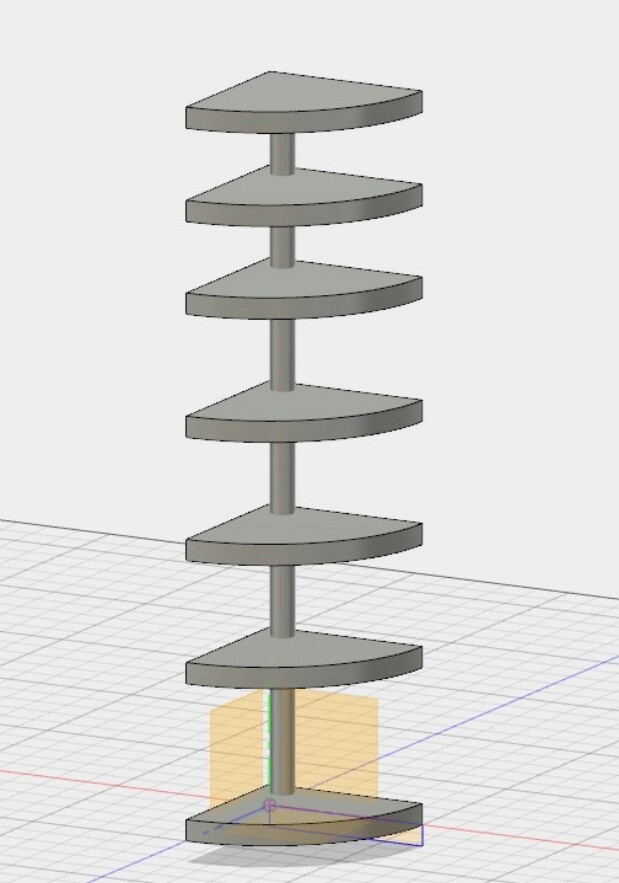
Quick 3D model to determine the spacing for different sized books
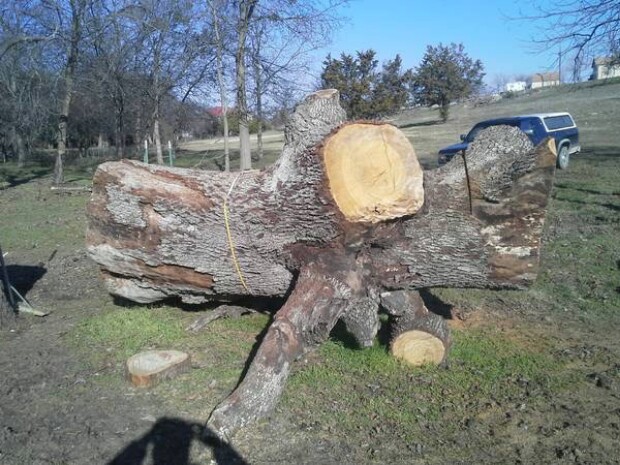
I found this Oak tree on Craigslist with a 10ft circumference and asked if I could take a few slices
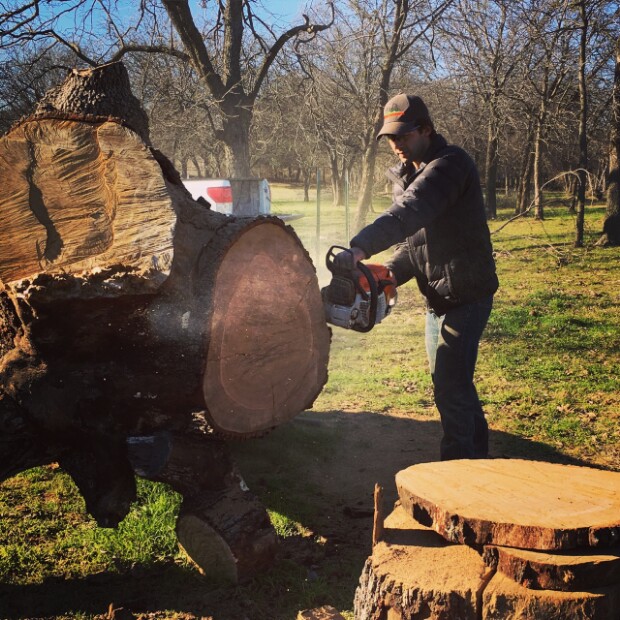
Rented a 30″ chainsaw to make the cuts
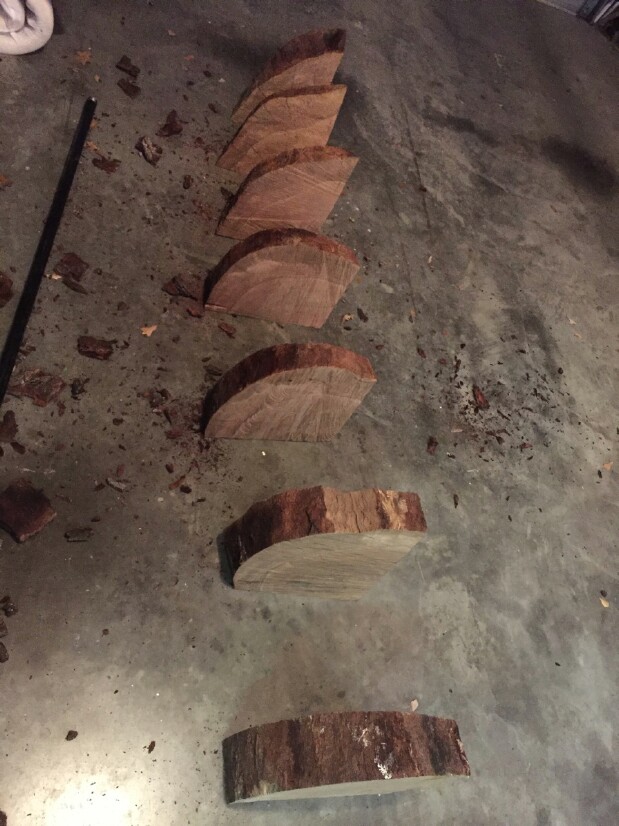
After slicing an entire piece off I then laid them down and quartered them so the pieces would fit in the corner.
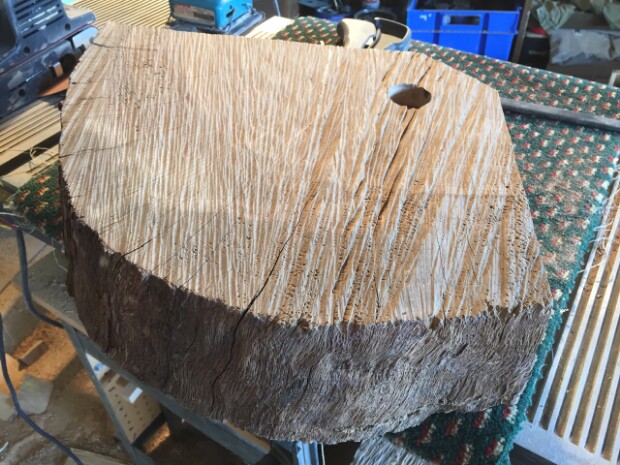
Arranging the pieces to make them look “tree trunk like” Despite my best efforts to cut straight the chainsaw left some deep marks and some pieces weren’t square
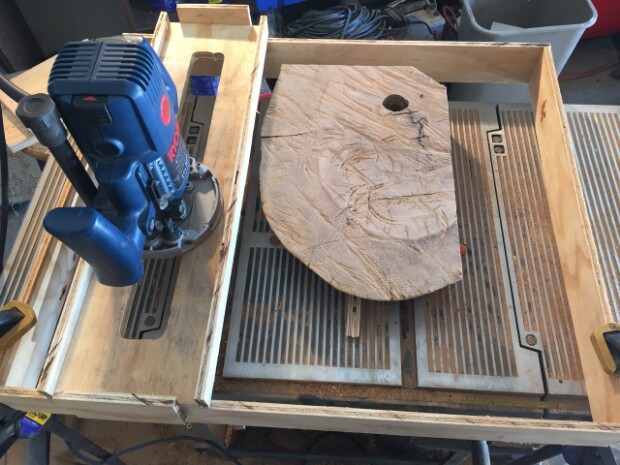
I built a router sled out of some scrap 1/2 plyboard to plane the boards – Youtube help here https://www.youtube.com/watch?v=J0SDvKHcL5M
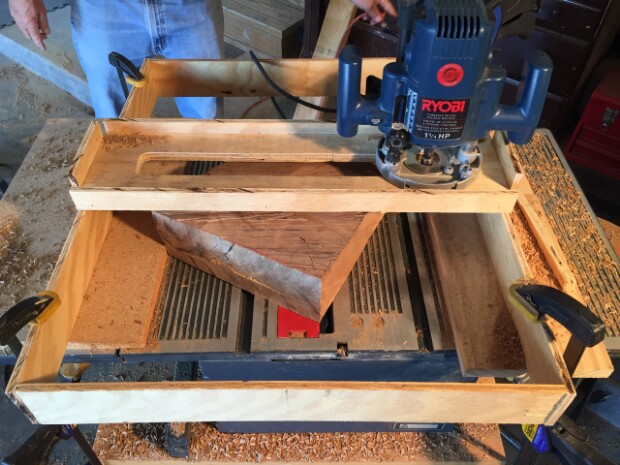
Use a straight cut bit (I had 3/4 but use 1″ if you can find it) to make passes, Make sure that your sled is sitting on a level surface. I clamped it to the top of our tablesaw.
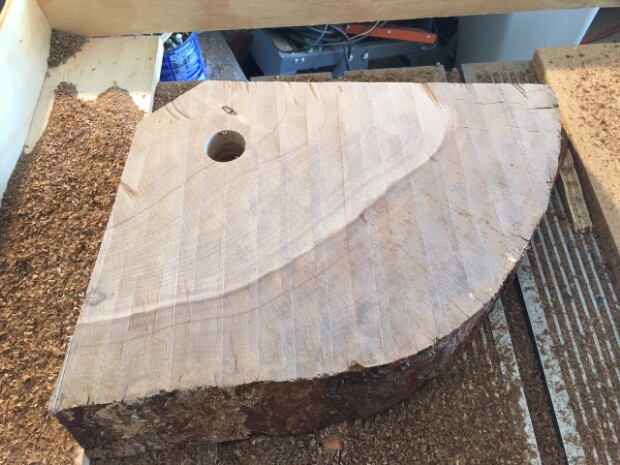
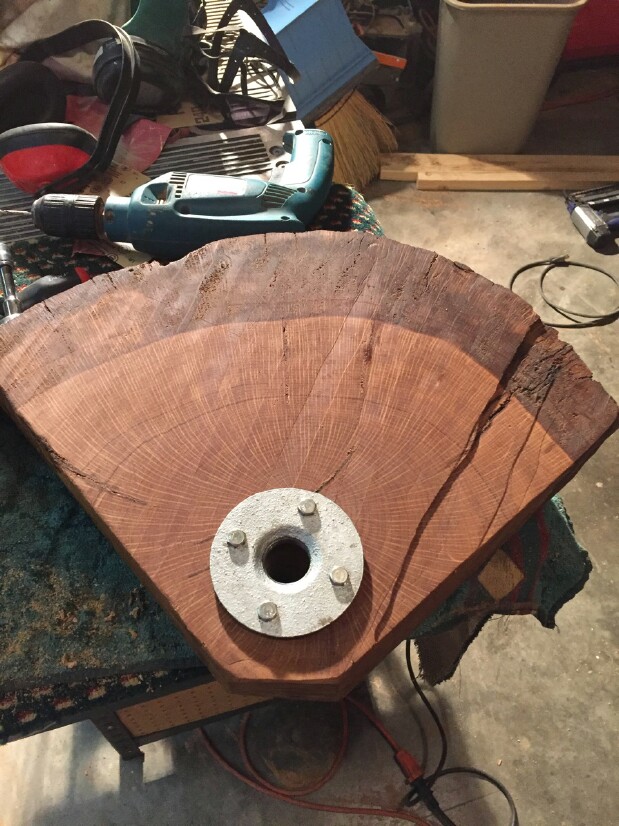
This is the result after planing with the router sled. This will be much easier to sand! Measured 3″ over and 3″ in from the corner to mark the hole. Then used a drill press to get a straight pilot hole.
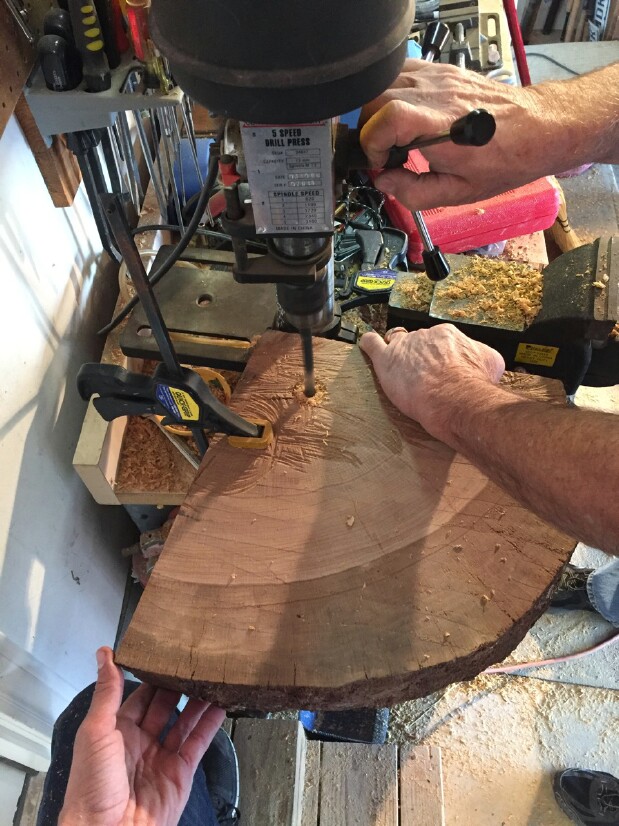
Using a Forstner Bit to drill holes big enough for the 1″ pipe to fit through.
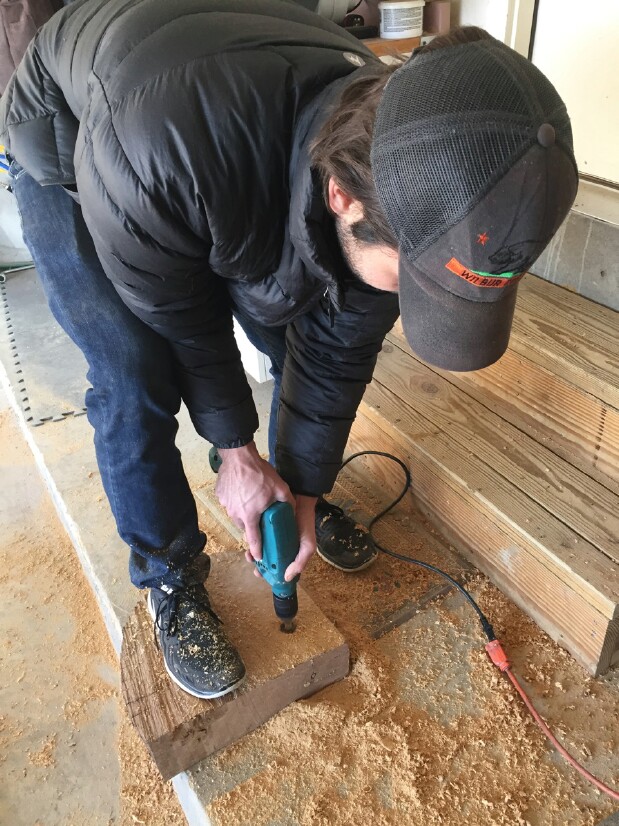
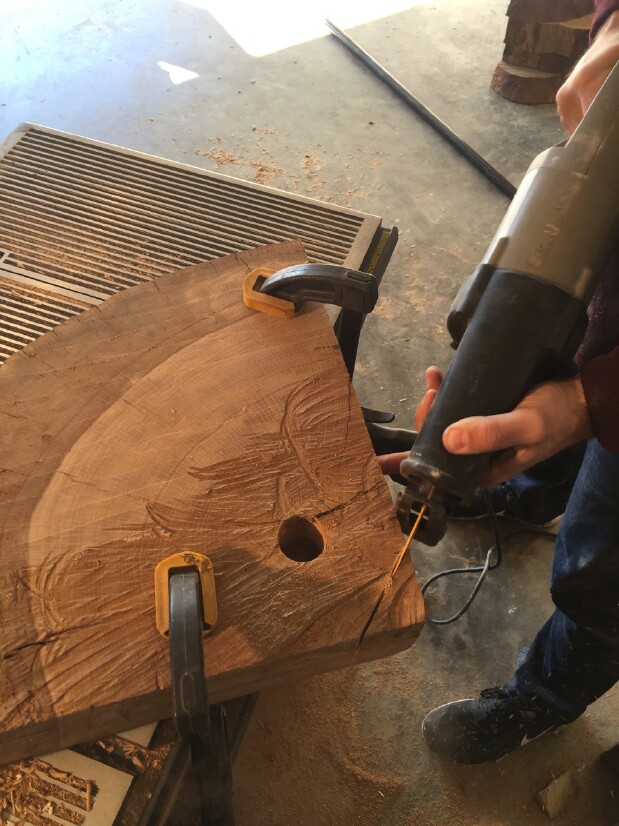
I decided to cut the tips off the corners so that I can run a strip of LED lights down the back side.

Time to sand! Used a belt sander with 50grit on areas that I didnt plane with router, 120 grit belt after. Then used 220 palm sander to finish
This is the base for the bookshelf, the pipe came threaded and screws into this base plate that is bolted in.
After sanding I rubbed Boiled Linseed Oil into the pieces.
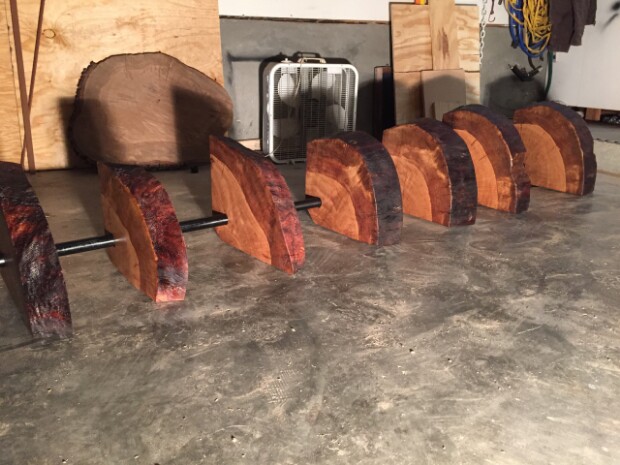
Since this is a bookshelf and will not be under much wear that is the only finishing process I used.
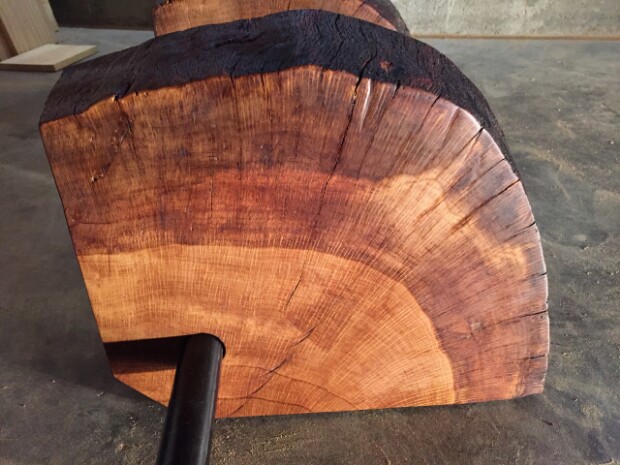
Not quite as flattering in this light.

I started with the base piece, screwed in the pole and then slid down one shelf at a time.
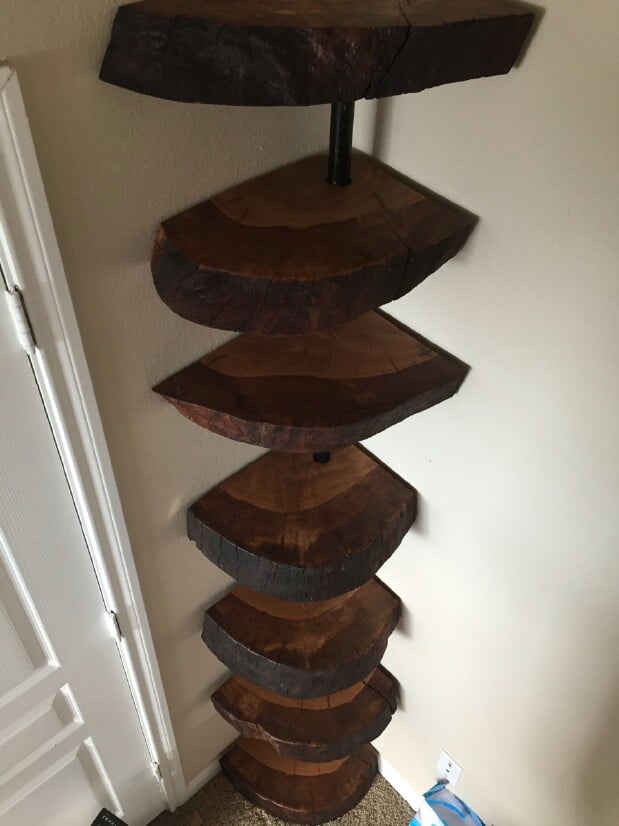
The shelf is standing completely on it’s own and it pretty stable since it is in the corner.
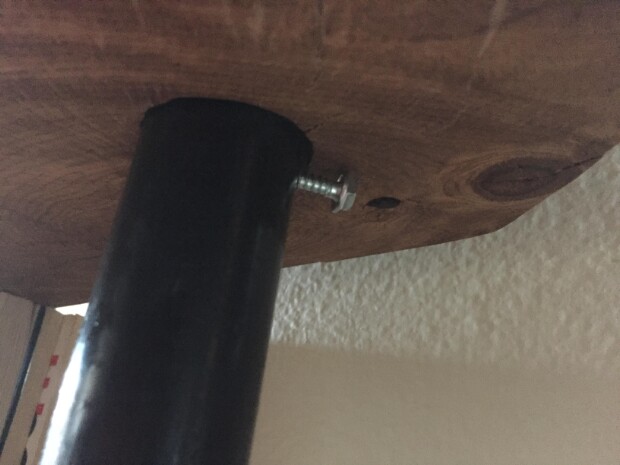
Each piece is supported by one self threading screw on the back side of the pipe.
No comments:
Post a Comment