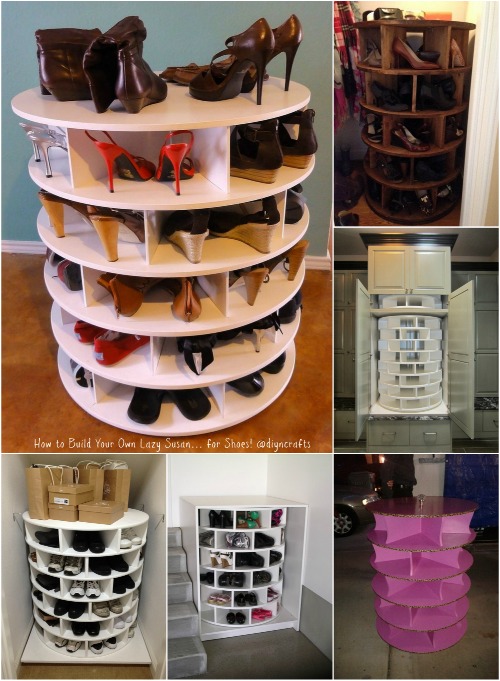
Who is this Susan, and why was she so lazy? The origins of both the product and the name are both shrouded in mystery – there are a few stories afloat, but none have ever really been verified. Nevertheless, we're mostly used to Lazy Susans rotating our condiments, but I found a much, much better version of the old classic: a Lazy Susan for shoes! My shoes really take up a lot of space in my cupboard, so I have to say, I am absolutely delighted with this project.
Video:
You will need:
- 9 x discs, 700mm diameterx12mm plywood
- 24 x standard dividers, 250x150x12mm plywood
- 5 x tall dividers, 250x500x12mm plywood
- 2 x base length A, 460x50x12mm plywood
- 3 x base length B, 436x50x12mm plywood
- Plywood offcuts
- 6mm nails
- PVA glue
- 3 x turntable swivel mechanisms
- 2-part epoxy glue
- Black and white paint (or colors of your choice)
- Long nap mini roller
- Foam mini roller
- Router (optional)
- Jigsaw
- Drill
- Hammer
- Protractor
This project will be a great testament to your carpentry skills, but the result is a fantastically sturdy and useful rotating shoe rack with space for everything from sneakers to flats, heels and boots. If you're a shoe-o-phile then feel free to keep it all to yourself, otherwise you'll definitely have enough room to share.
If you're not completely sold on this specific solution, have a look at some of our other clever and easy shoe storage options.
Shoe-lovers, take note! For a full step-by-step tutorial, head over to BetterHomesAndGarden.

No comments:
Post a Comment