Can you believe that it's almost time for Easter again? This past year went by so fast! Over the last couple of years, we have brought you some great craft ideas, including silk squares to dye eggs and a project to make an Easter egg out of string and fill it with treats.
This year I have an extra-exciting treat for you—a project exclusively from DIYnCrafts!
You only need a few simple, cheap supplies to do this project! Here are the steps!
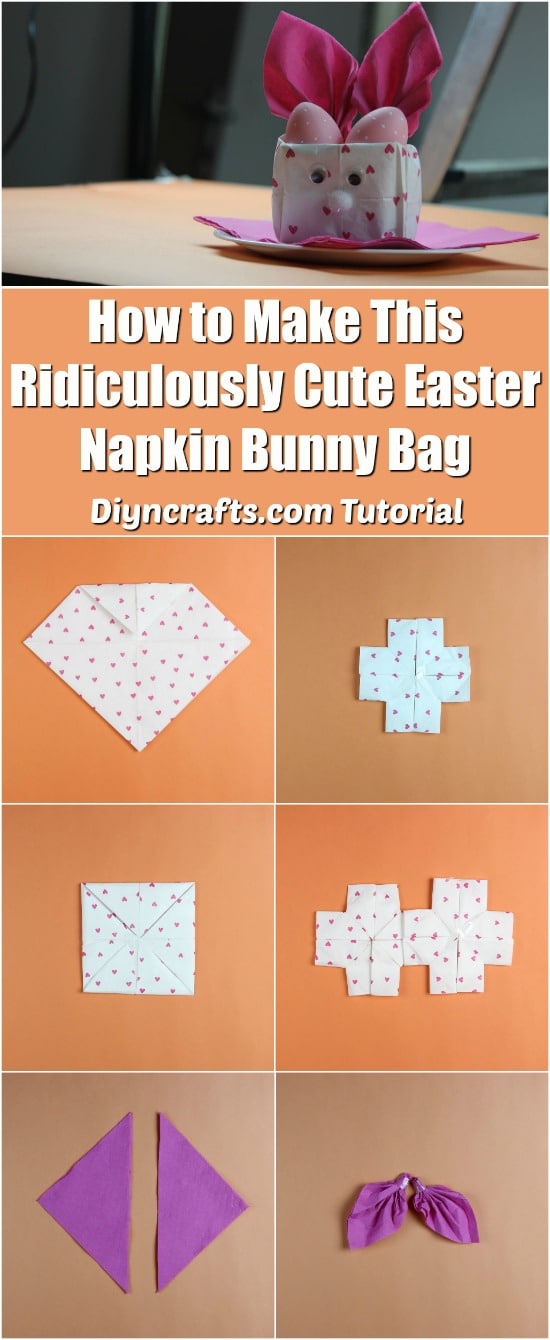
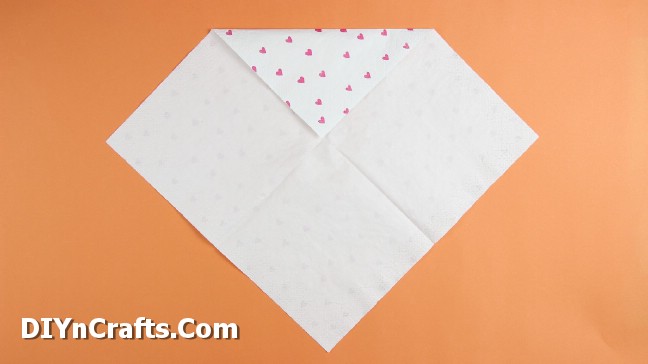
1. Start by folding in all four corners of a paper napkin.
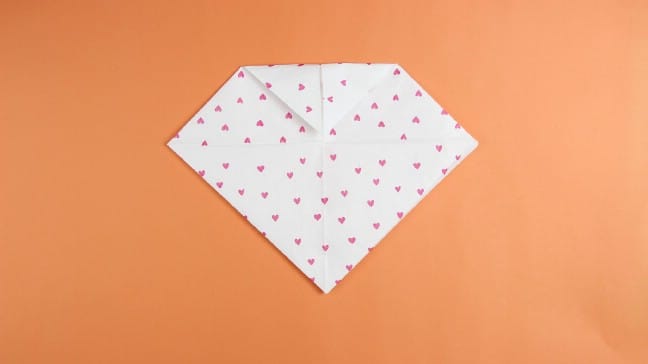
2. Flip it over and fold in all four corners again.
3. Turn it over, and fold in all four corners one more time.
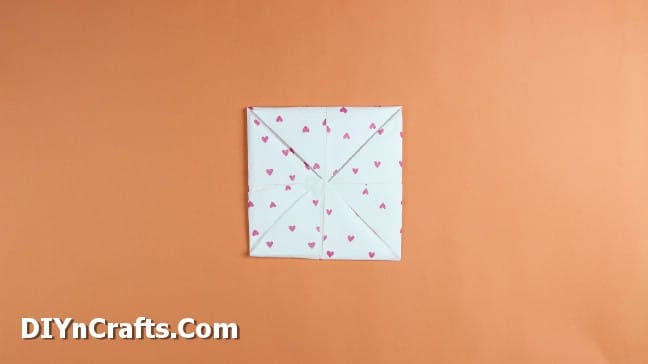
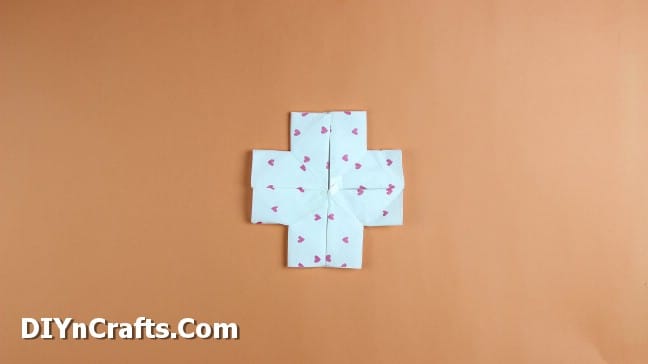
4. The next step is pretty hard to describe in words (it's 30 seconds into the video). But once you complete the transformation, you'll have a shape like this:
5. You then put some tape in the middle, and fold the edges in. These become the sides of the bag.
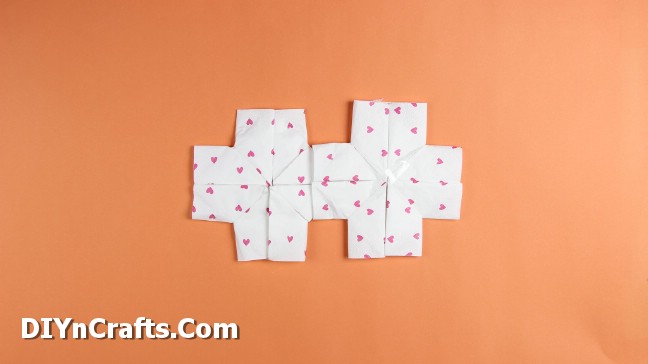
6. Make a second one, and then attach the two together.
7. One the two pieces are attached, you can finish connecting them so that they form a complete bag.
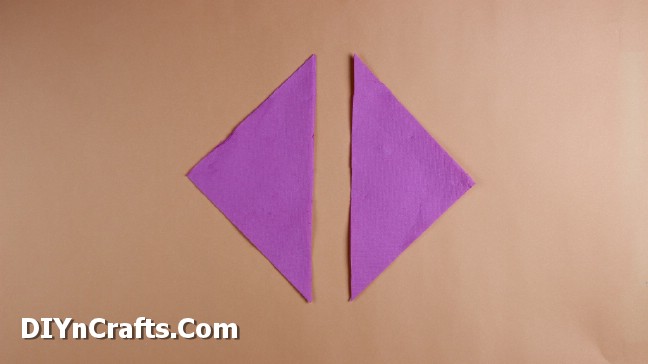
8. You then need to cut two triangles from another paper napkin.
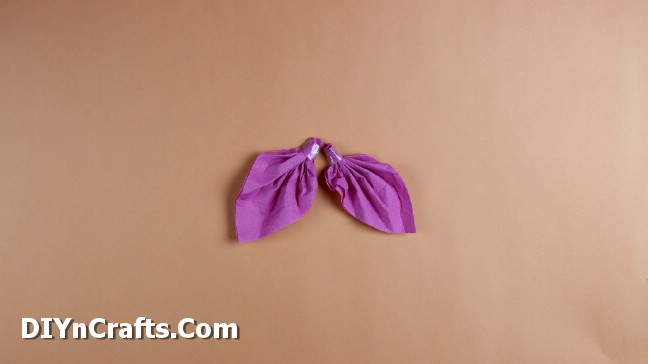
9. Pinch them together so that they resemble rabbit ears.
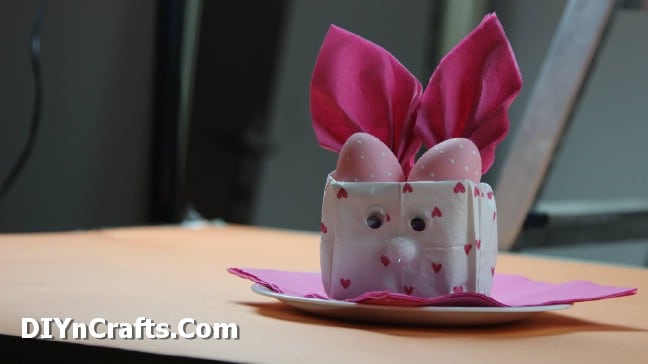
10. From there, it is a simple matter of gluing on the eyes to the bag and attaching the ears. You can then put treats inside!
This cute craft is seriously easy to make, even if you are not an expert at origami. I would say that the hardest step is #4, but with the video you should have no problem following along. This would be a great craft to do with kids. Have fun!
No comments:
Post a Comment