Sometimes the simplest supplies can be transformed into unbelievably stunning art projects. One of my favorite supplies to work with is plastic bottles. Why? Well, to start with, they are cheap and easy to come by. For another thing, I believe you should always recycle—or better yet, upcycle. But the main reason is just that you can create surprisingly sophisticated things out of plastic bottles. Check out these self-watering seed starter pots for example, or these 20 creative plastic bottle crafts.
But this may be the most amazing plastic bottle project I have seen to date:
You can watch the steps in progress in the video, and you can find a full tutorial here.
Here is a short version of the steps involved:
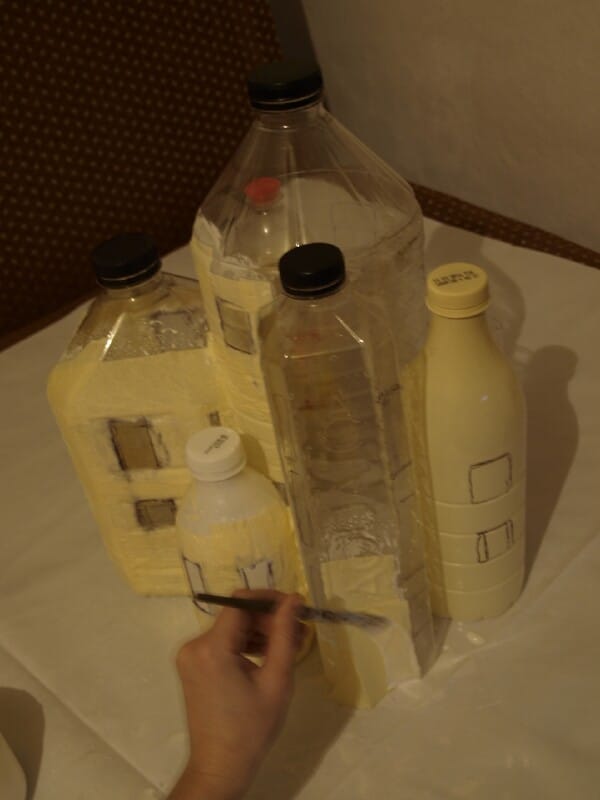
1. Start by hot gluing plastic bottles of various sizes together. Draw some windows on them.
2. Cover your bottles in wood glue and paper towels.
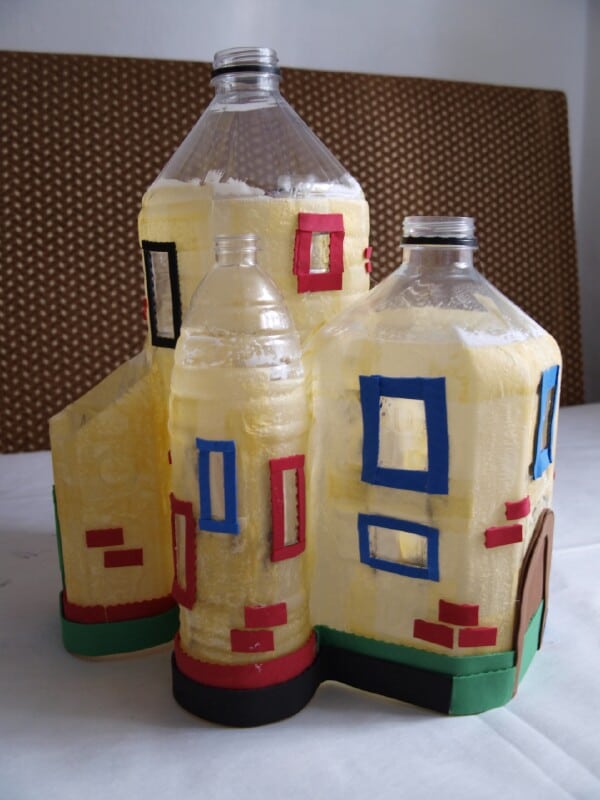
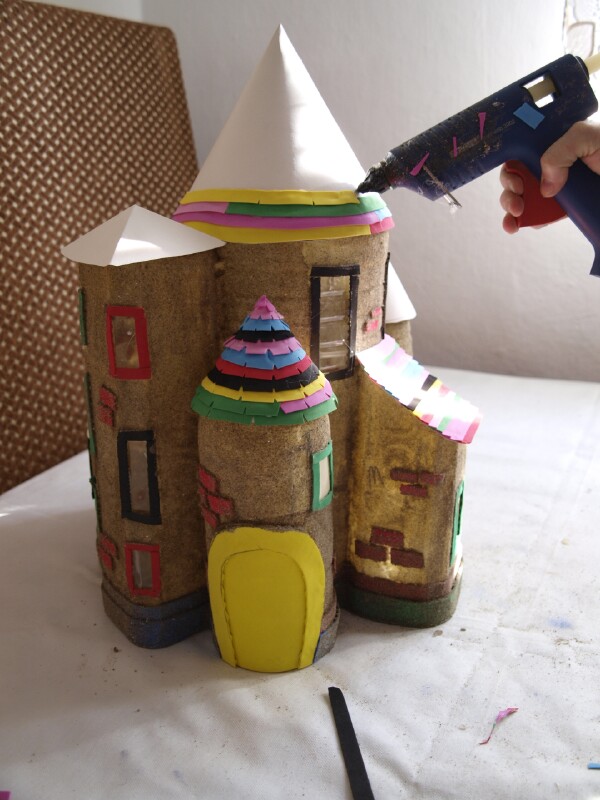
3. Cut out some craft foam and use it to apply borders to windows and doorways. You can also use it to imply bricks and trim.
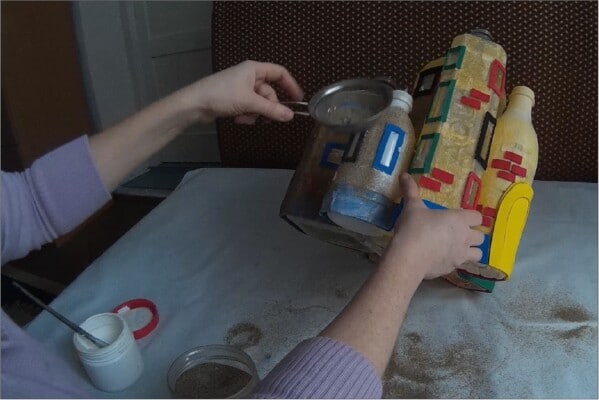
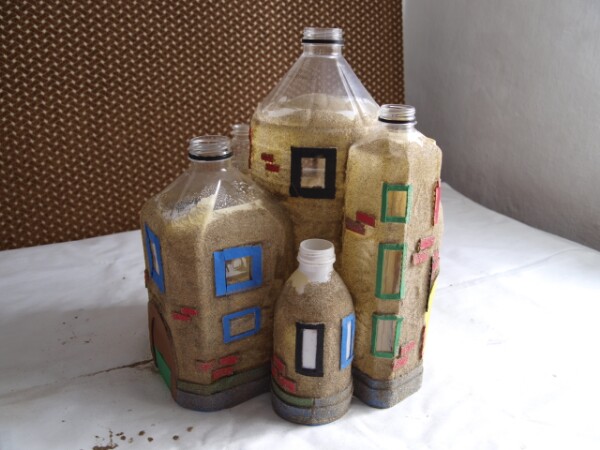
4. Add another layer of wood glue, and then spread sand through the wet glue to add texture.
5. Remove the heads from the plastic bottles, and then create a set of paper cones to serve as roofs.
6. Use craft foam to create colorful strips, and then cut notches in the strips. Attach these to the cones, working your way up to create roof tiles.
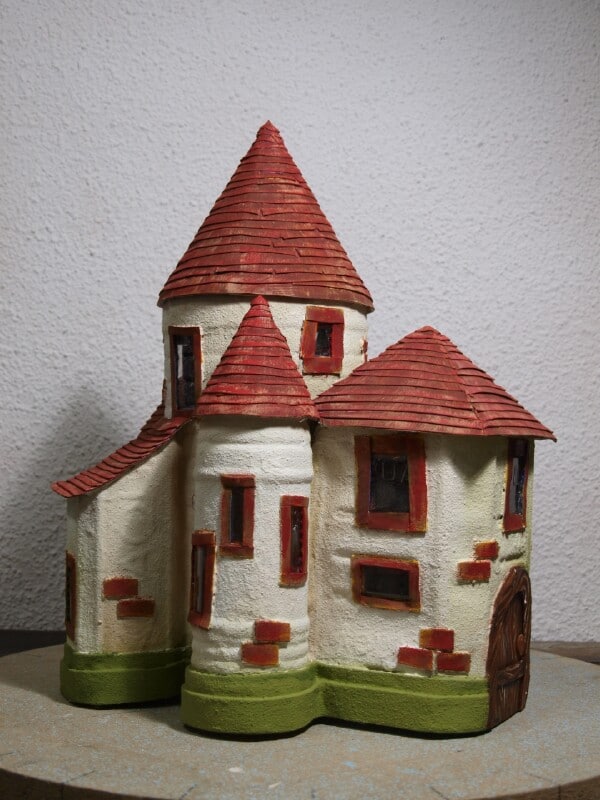
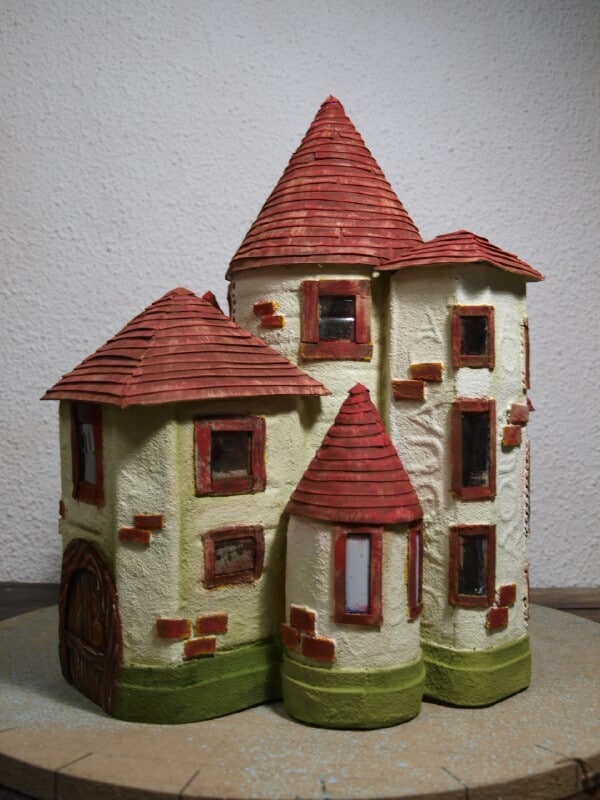
7. Add a layer of paint as desired.
Make sure to visit CreativeMom’s Youtube channel for more brilliant upcycled crafts. There are more step by step images on Instructables here.
Notice how even though the roof tiles were painted red, some of the color variation from the paper comes through, giving the tiles a natural, weathered look. By the time this project is complete, it is hard to believe it ever started as a few plastic bottles!

No comments:
Post a Comment