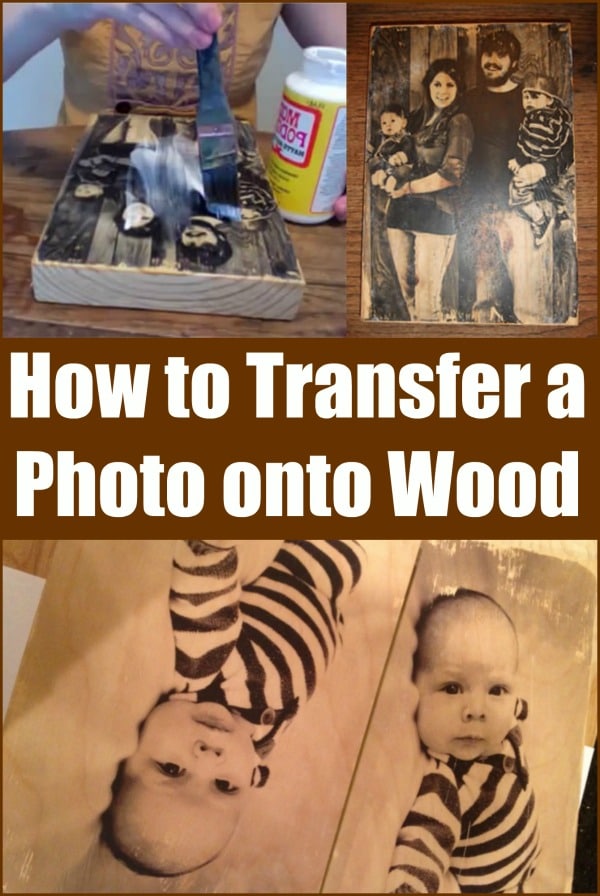
I love taking photos; I'm a pretty snap-happy person. I just love the idea of being able to capture a moment in time. With all the stuff we try to remember and cram into our brains every single day, it's nice to have a photo to jog your memory and remind you of a great time you had. Naturally, I love to display my photos but I've found that frames can get a little boring, so I've opted for this cool method of transferring a photo onto a block of wood. It's just nice to have a little something different from the norm, and it gives a nice rustic feel to the area in which it's placed. These also make fantastic, thoughtful gifts.
You don't need much, just:
- A printed copy of your photo of choice on regular paper
- A block of wood (the smoother the better)
- Mod Podge
- Gel medium
- A brush
- A wet cloth
The process itself is very simple: cover the wood with your gel medium (be generous with the stuff but also make sure to spread it evenly), place the paper on the wood, leave overnight, rub with a wet cloth to remove the paper and then simply finish with Mod Podge. It couldn't be any simpler.
Important Tips:
When you place the image down on the wood it will come out reversed (or mirrored), so before you print out your image, make sure you flip it on the computer so that it will come out correctly on the wood.
You must use a laser printer – the ink from a regular inkjet printer will not transfer onto the wood in this way.
This method works best with a black and white image – colors won't come out quite as well.

No comments:
Post a Comment