Now that absolutely every mobile phone comes equipped with at least one camera, we're all taking a lot more photos than we used to when we only had regular cameras to rely on. Narcissistic selfies aside, the accessibility of being able to snap anything, anytime, anywhere really is a blessing as you can immortalize special moments which, when you look over them, have the power to bring back all the wonderful feelings of that instant. Instead of simply uploading them all to social media, why not adorn your home with these incredible memories that you've captured in time?
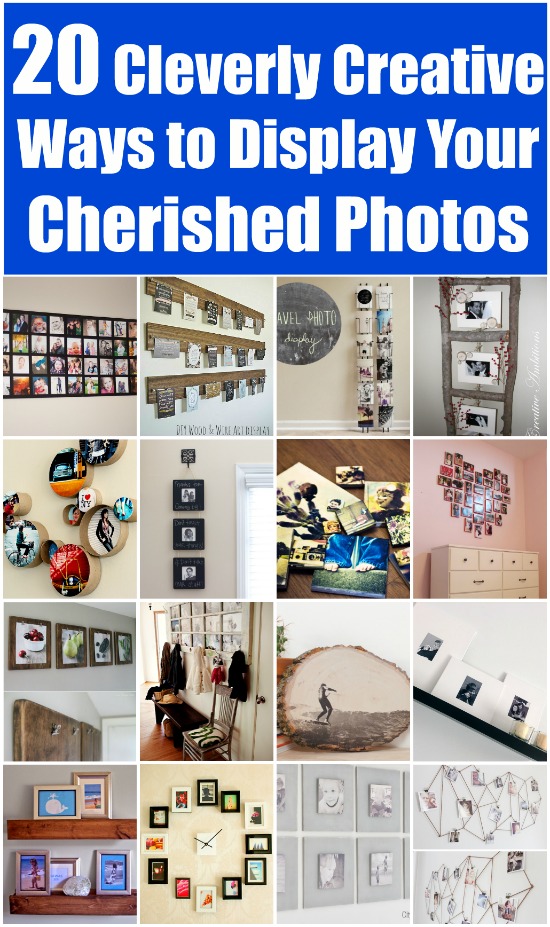
I've rounded up some of the most creative, fresh and fun ways to display your photos around the house so that they really become a feature rather than fading into the background.
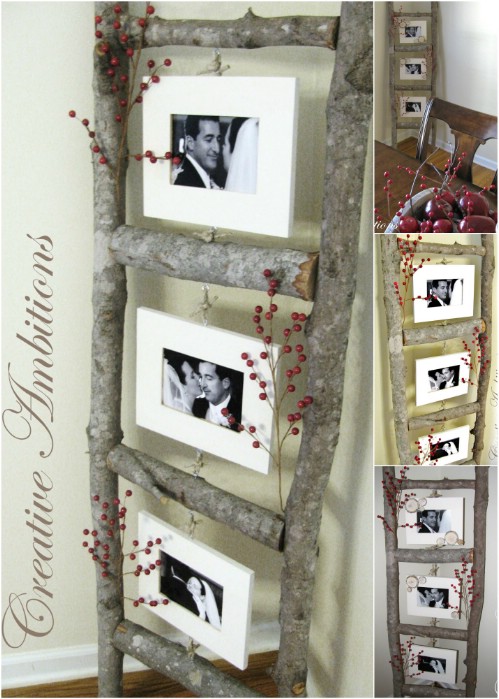
Handmade Ladder
I've seen old ladders transformed into photo holders, but this one made from scratch really takes the cake. The homely, rustic appeal of the logs perfectly displays those beautiful memories you've created. Although this looks lovely propped up against a wall, I'd even consider actually hanging it horizontally higher up on the wall.
DIY Instructions and Project Credit – CreativeAmbitions
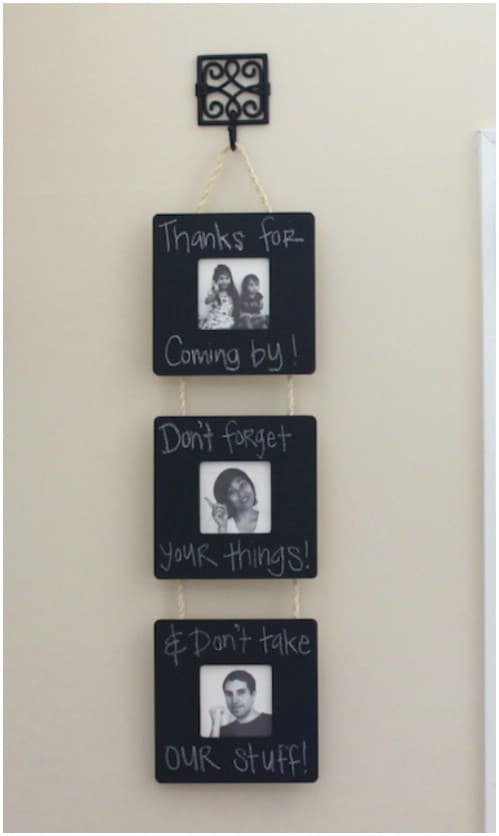
Hanging Chalkboard Frame
I'm a sucker for chalkboard paint in crafts, and the whimsical nature of this project really is just so fun and cute. Another way to run with this idea is to add a lot more than just three photos, and then write a little personalized description or note around each one.
DIY Instructions and Project Credit – SimplyModernMom
Photo Collage
I love this collage idea because it looks like one massive frame, but it's actually just photos stuck on a foam core board and sealed in with Mod Podge. Not only that, but it's easy on the wallet, too. Since the example photos are in color I like the black background, but if you find a color that ties all your photos together then don't be afraid to go for it.
DIY Instructions and Project Credit – BitsOfEverything
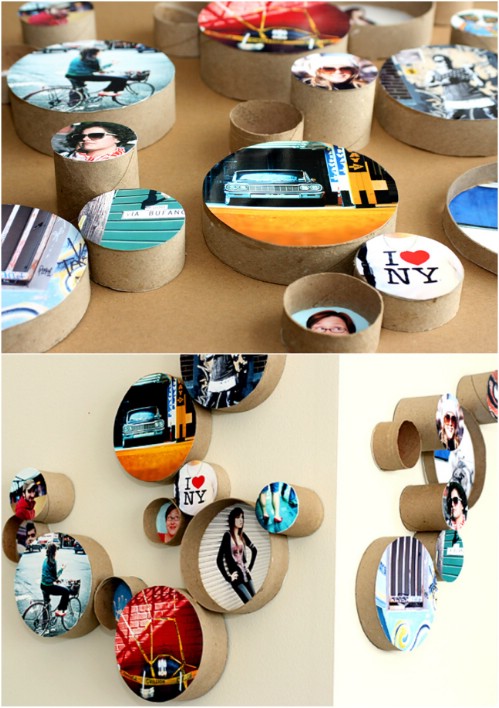
Round Cardboard Frames
This project is repurposing creativity at its best: hold on to your empty paper towel and toilet rolls to make these easy and clever frames of varying sizes. If you're not a fan of the natural color just paint both the inside and outside before adding the photo; you can even funk it up a little by painting the inside and outside two different colors.
DIY Instructions and Project Credit – Photojojo
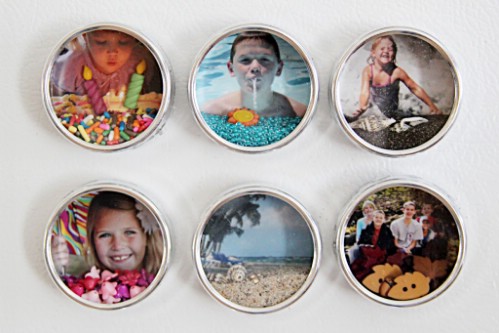
Shadowbox Magnets
Instead of displaying your photos on the wall, why not go old school and put them on the fridge? I absolutely adore this little shadowbox idea because you can include some bits and bobs to add a whole new dimension and quality to your beloved snaps.
DIY Instructions and Project Credit – CraftsUnleashed
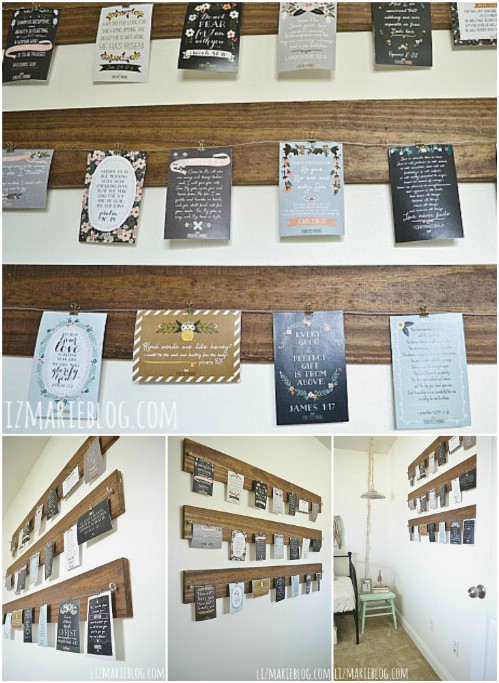
Wood and Wire Display
This display has a real rustic charm that I just can't pry myself away from. Of course, you can use it to hang just about anything, but I think this is perfect for some memorable family photos. All you indecisive crafters will love this one because the photos aren't permanent: you can switch them up as often as you like.
DIY Instructions and Project Credit – LizMarieBlog
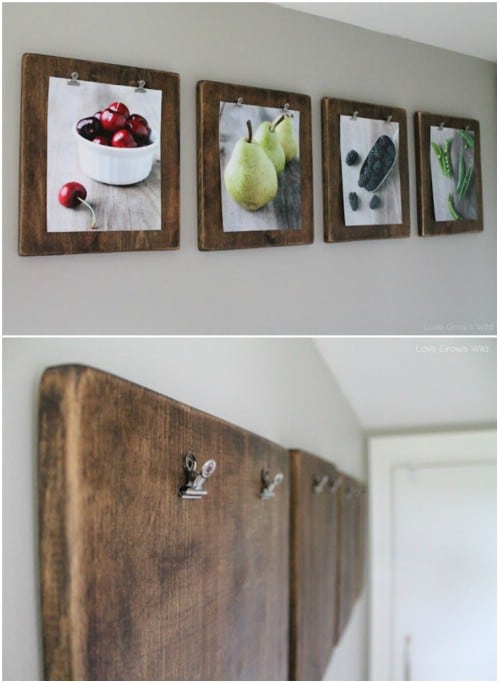
Clipboard Gallery Wall
The idea of using a clipboard to display a photo may not be all that new, but this tutorial shows you how to make your own thick, sturdy clipboards that look beautifully aged. The dark stain will really make the colors in your photos pop with vibrancy.
DIY Instructions and Project Credit – LoveGrowsWild
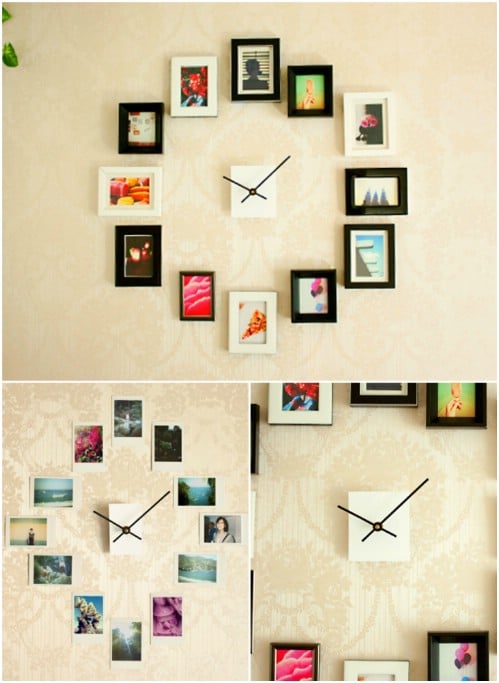
Photo Clock
So not only can you arrange your favorite pictures on your wall, but you can actually turn a purely visual display into a functional clock! I kind of wish I had thought about this one before. Use any method you want for the 12 photos (canvasing, simple framing etc.); you can even switch it up!
DIY Instructions and Project Credit – Photojojo and Arts&Crackers
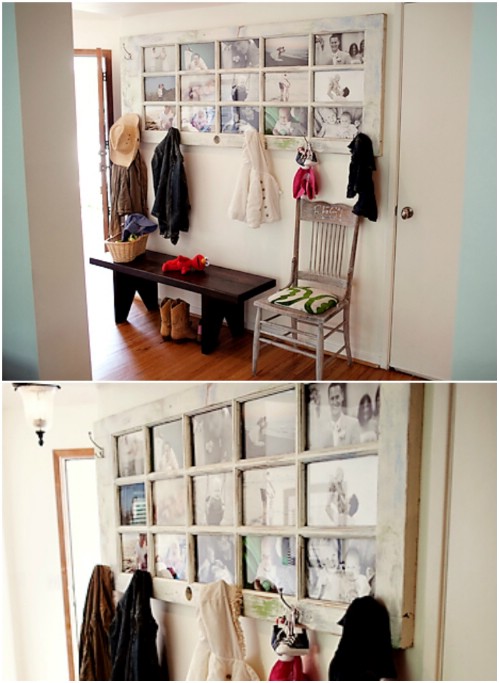
Recycled Door
This project is, by far, my absolute favorite. The repurposed door is just stunning (and genius!), and I love the quirky, clever idea of doubling it up as a coat rack. Now I just need to get to a secondhand store to find myself the perfect door!
DIY Instructions and Project Credit – PhotogMommie
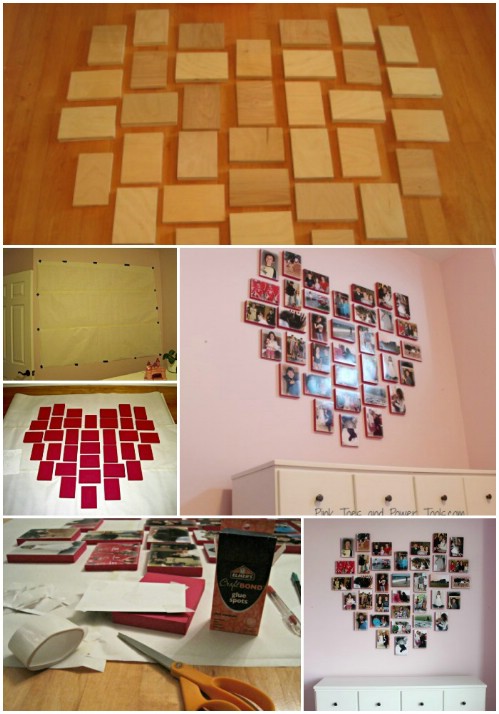
Heart Collage
Put your heart on the wall—literally—with this fantastic scrap wood tutorial. Of course, you can create any shape that you want, from circles to stars to letters, but since my photos represent memories that are dear to my heart, I think the shape is rather fitting.
DIY Instructions and Project Credit – PinkToes&PowerTools
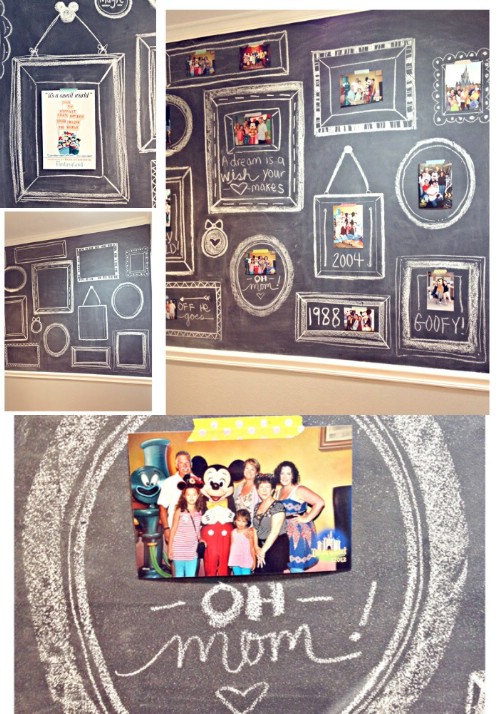
Chalkboard Wall
Instead of framing each picture and hanging them up, you can really let the creative juices flow by painting a wall with chalkboard paint, and then drawing your own frames to match your photos. This is such an imaginative way to exhibit your photos while adding some context to them, and I love he fact that you can change it up as often as you like.
DIY Instructions and Project Credit – IAmDoe
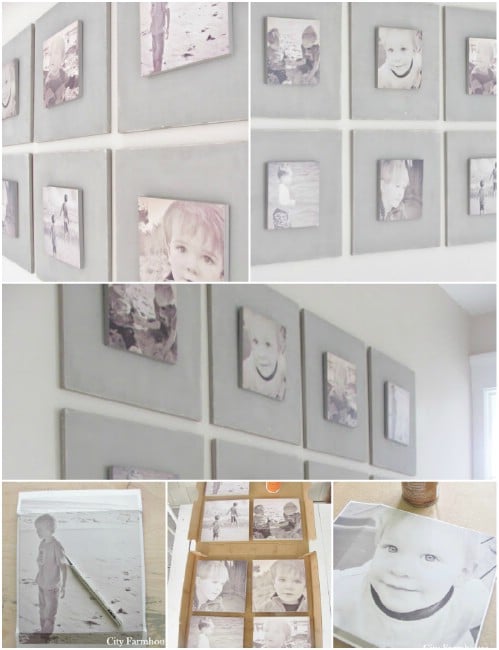
Chalk Paint Wood Board
Chalk paint seems to be growing in popularity so I just love how it is incorporated into this project (I've got some great tutorials for DIY chalk paint if you want to make your own). The detailed instructions are easy to follow and can all be done for around $40!
DIY Instructions and Project Credit – CityFarmhouse
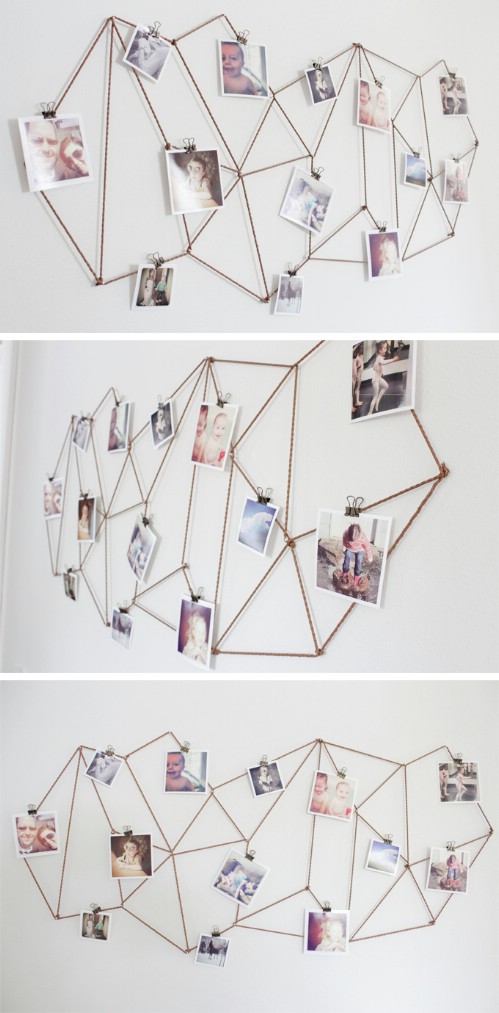
Geometric Wiring
This is a really fresh and modern way to show off your prized photos. The geometric design is fabulous, and there's so much wiggle room in the idea: you can create a similar shape, or you can go wild and create something totally different, like a chevron pattern or a more traditional shape.
DIY Instructions and Project Credit – TheCaldwellProject
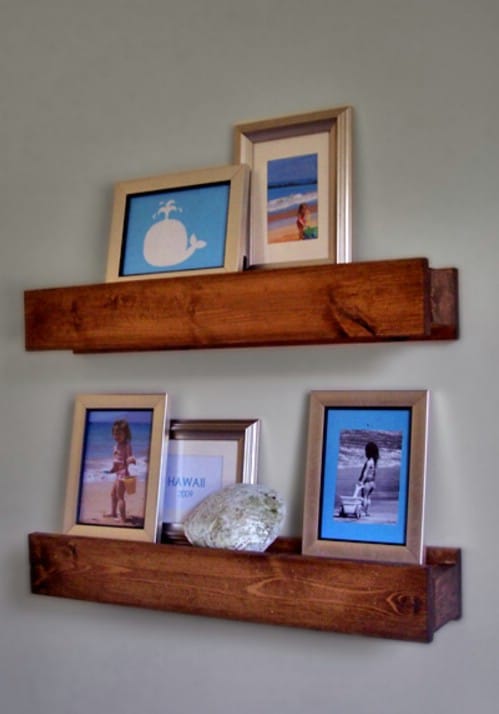
Barn Beam Shelves
I love the character that is injected into a home by these faux barn beams. Get your hands on some wood boards and a fantastic stain to really get that barn look and you'll have yourself a real eye-catching focal piece for photos.
DIY Instructions and Project Credit – AnaWhite
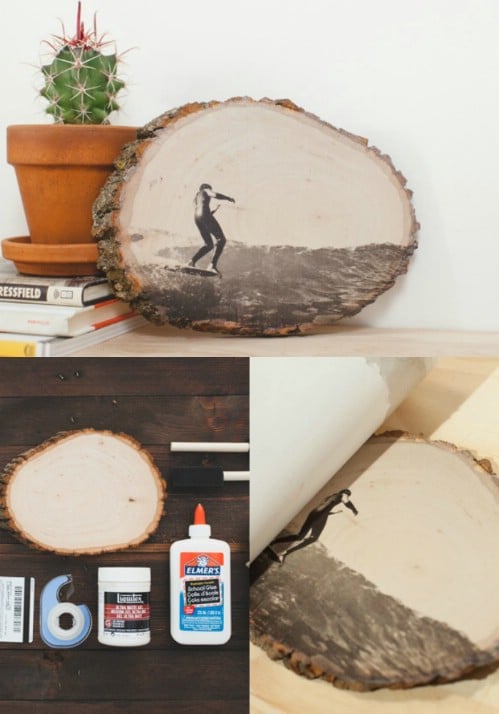
Wood Slice
Transferring your photo onto a regular wooden slab is pretty cool, but if you really want that full natural feel, transfer the image onto a genuine log slice. A couple of these displayed on a wall or shelf will be a definite focal point in your home!
DIY Instructions and Project Credit – EHow
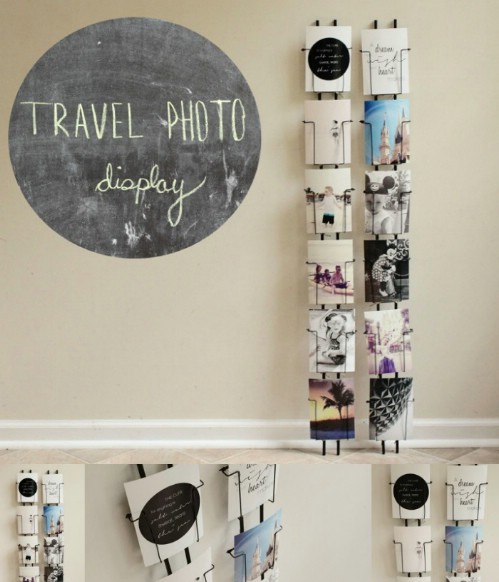
Postcard Racks
Whenever I travel, I always make sure to take a few postcards from those wire racks (either to hoard or actually create something beautiful) as mementos of the trip. This incredible project channels that same idea, thus making it the perfect display for all your travelling photos!
DIY Instructions and Project Credit – KristanLynn
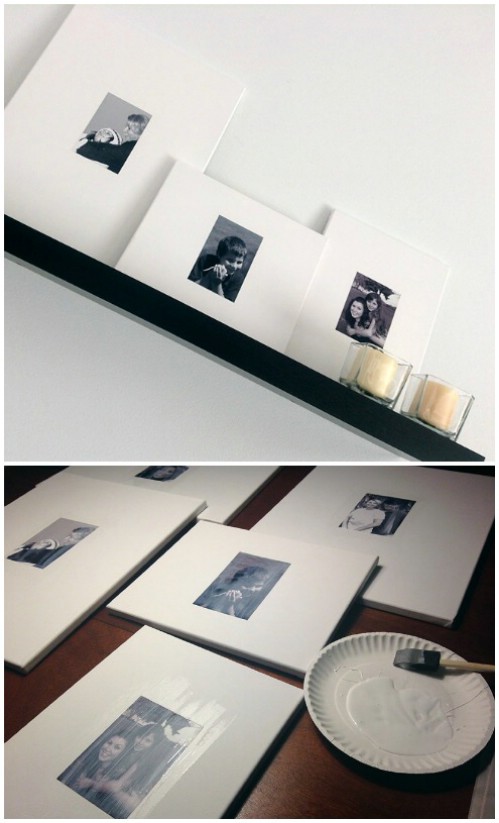
Canvas Frames
The simplistic and minimalist approach is what really drew me to this tutorial. All you really need to do is glue your photo in the center of each canvas, finish it off with a matte or gloss look, and then find the perfect spot to display your modern photo gallery.
DIY Instructions and Project Credit – TheBudgetDecorator
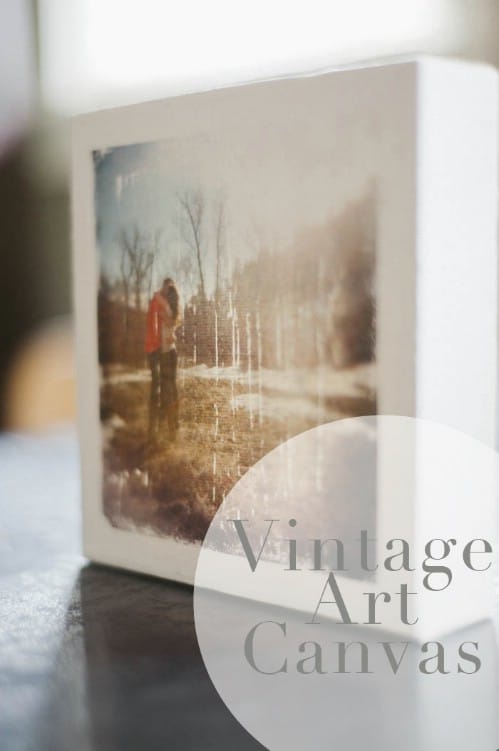
Vintage Canvases
Make your photo look like vintage canvas paintings with this cool method. Repeat the process with a few of your favorite photos to create a nice big collection.
DIY Instructions and Project Credit – RachelGracePhotography
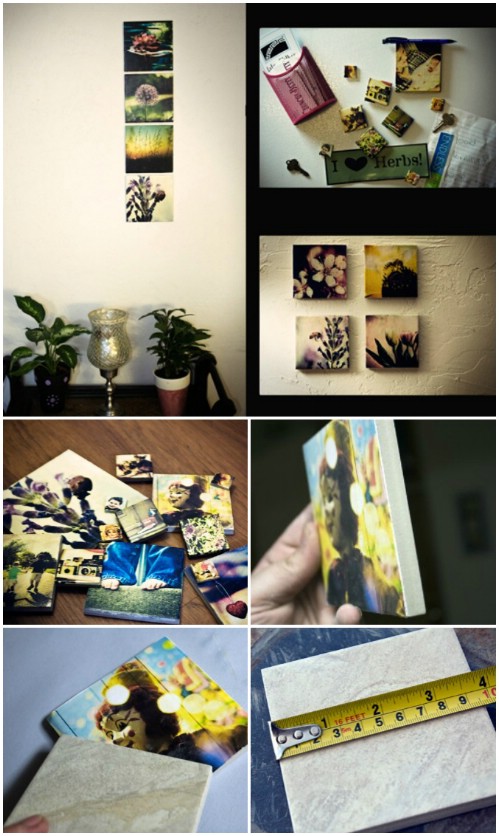
Ceramic Tiles
As much as I love photos on canvases, we can all agree that it isn't a particularly fresh concept. I find this ceramic tile idea so clever… not to mention easy, and affordable!
DIY Instructions and Project Credit – CrunchyBetty
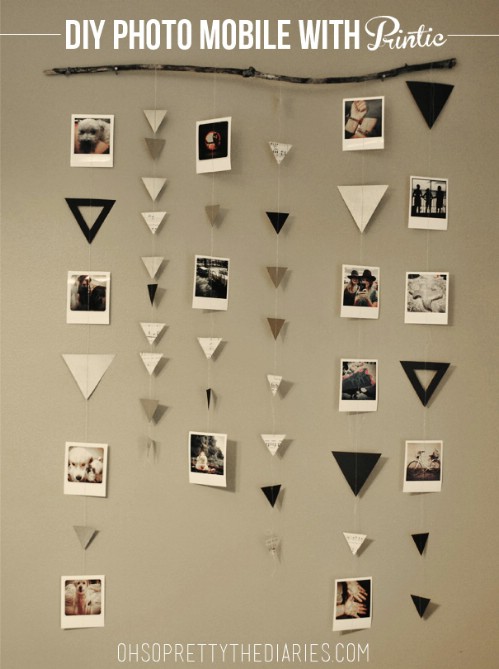
Photo Mobile
The versatility of this photo mobile is what really attracts me; you can hang all sorts of shapes and cutouts from any paper style or color that suits you and your home. If you like projects that really give you that room to spread your creative wings, then this one is a must.
DIY Instructions and Project Credit – HeyWanderer

No comments:
Post a Comment